
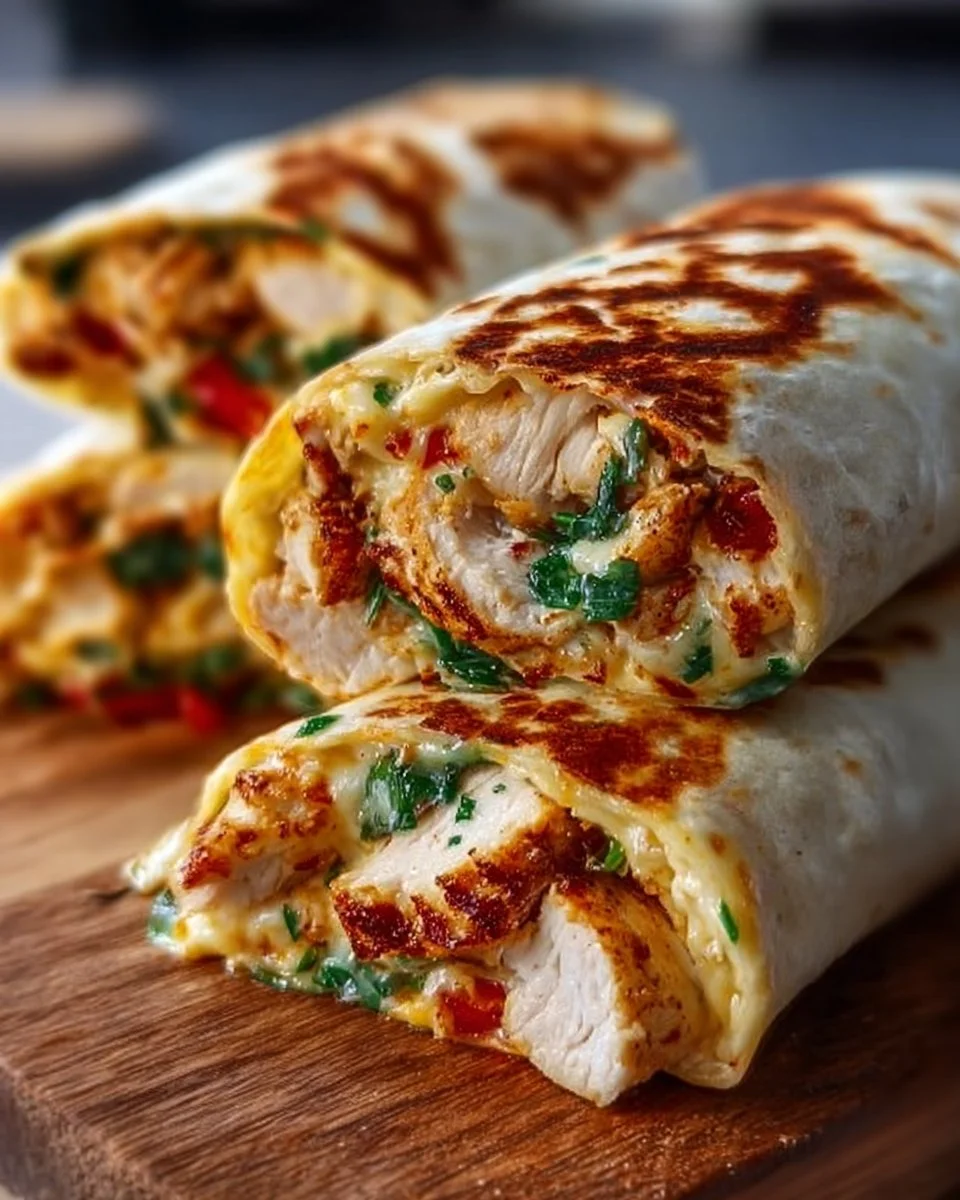
There’s something truly special about Cheesy Garlic Chicken Wraps. Imagine biting into a warm, crispy wrap filled with tender chicken, melted cheese, and the delightful aroma of garlic wafting around you. It’s a symphony of textures, combining the crunch of the tortilla with the gooey cheese and juicy chicken, creating an experience that’s wonderfully indulgent. I often whip these up whenever I need a cozy meal at the end of a long day—or when friends come over for a casual get-together.
These wraps come together surprisingly fast, making them perfect for busy weeknights or spontaneous gatherings. You’ll find them incredibly versatile; whether you want to serve them for dinner paired with a fresh salad or cut them into bite-sized pieces for a party platter, they won’t disappoint. And the best part? Leftovers keep beautifully, so you can savor the goodness the next day!
Why I Love Cheesy Garlic Chicken Wraps
There’s a reason Cheesy Garlic Chicken Wraps have become a true winner at my table. They hit that sweet spot between being incredibly easy and undeniably delicious! With each bite, you experience a burst of flavor, and they always manage to please both kids and adults alike. Plus, you can easily customize them according to your taste preferences—everyone loves a wrap night!
Cheesy Garlic Chicken Wraps Ingredients
The magic of this recipe truly lies in the harmonious blend of simple yet flavorful ingredients. Don’t worry about exact measurements just yet; those are all in the recipe card for you!
Core Ingredients and Their Roles
- 2 LARGE CHICKEN BREASTS: The stars of this dish! They provide protein and a juicy bite.
- 4 TORTILLAS: These wrap everything up perfectly, allowing for a delightful handheld meal.
- 1 CUP SHREDDED CHEESE (CHEDDAR OR MOZZARELLA): Adds that gooey, melty goodness that makes these wraps irresistible.
- 4 CLOVE GARLIC, MINCED: Infuses the chicken with aromatic depth and makes the wraps fragrant.
- 2 TABLESPOONS OLIVE OIL: Helps to sear the chicken, locking in moisture and enhancing flavor.
- SALT AND PEPPER TO TASTE: Essential for bringing out the best in your chicken.
- FRESH PARSLEY, CHOPPED (FOR GARNISH): A pop of color and fresh flavor to elevate the dish!
Substitutions and Tips
Need a swap? Here are a few alternatives to consider:
- Chicken: You can use turkey or even shredded rotisserie chicken if you want to save some time!
- Tortillas: Whole wheat or spinach tortillas add a nutritious twist; just keep an eye on the cooking time, as they might cook faster.
- Cheese: If you want a tangy kick, try pepper jack or feta for an exciting twist!
- Garlic: In a pinch, garlic powder works, but fresh garlic gives you the best flavor.
Kitchen Tools You’ll Need
- Large skillet (preferably non-stick)
- Baking dish (9×13 inch is perfect)
- Cutting board
- Chef’s knife
- Spatula or tongs for flipping
- Measuring cups and spoons
How to Make Cheesy Garlic Chicken Wraps
Let’s dive into creating these delightfully cheesy Cheesy Garlic Chicken Wraps! I’ve broken down the process into simple steps. Follow along, and you’ll have a delicious meal in no time. We’re aiming for perfectly cooked chicken wrapped snugly in a crispy tortilla, oozing with melty cheese!
Preheat and Prepare
First, preheat your oven to 375°F (190°C) to ensure everything cooks evenly. This is key for achieving that crispy finish later.
Sauté Aromatics for Flavor Base
Next, in a skillet, heat the olive oil over medium heat. Add the minced garlic and sauté until fragrant, about a minute. Be careful not to burn it! You want the garlic to be aromatic and just golden, setting the stage for the delicious chicken.
Cook the Chicken to Perfection
Once the garlic is fragrant, season the chicken breasts with salt and pepper. Add them to the skillet, cooking until the chicken is no longer pink and cooked through, about 6-7 minutes per side. This step is crucial; you want that chicken to be juicy and flavorful!
Rest and Slice
Now, remove the chicken from the skillet and let it rest for a few minutes before slicing it into bite-size pieces. Resting the chicken allows the juices to redistribute, ensuring every bite is succulent!
Assemble the Wraps
Lay the tortillas flat on a clean surface and place slices of chicken on each. Top with shredded cheese, allowing the warm chicken to melt it slightly.
Roll Them Up
Next, roll the tortillas tightly around the filling, making sure everything is tucked in snugly. Then, place the wraps seam-side down in a baking dish, ready for their transformation.
Bake Until Bubbly
Now, bake in the preheated oven for about 10-15 minutes, or until the cheese is melted and slightly golden. Keep an eye on them; you want that cheesy goodness to ooze a bit without burning!
Garnish and Serve
Finally, garnish with freshly chopped parsley before serving. This little touch adds both color and flavor, making your wraps look as good as they taste!
How to Store Cheesy Garlic Chicken Wraps
Leftovers are a blessing! If you have any wraps remaining, you can keep them at room temperature for about 2 hours after cooking. For the fridge, just pop them in an airtight container, where they’ll stay good for about 3-4 days. If you want to go the extra mile, you can freeze them for 2-3 months! When you’re ready to enjoy again, just thaw them in the fridge overnight and reheat in the oven until warm (about 10 minutes) for the best texture.
Tips for Success
- Allow the chicken to rest before slicing to maintain juiciness.
- Ensure the tortillas are fresh and pliable for a better rolling experience.
- Don’t overstuff your wraps; this makes them harder to roll!
- Garnish right before serving for that fresh pop of flavor.
- For added zest, consider a squeeze of lemon juice over the filling.
Serving Suggestions
- Pair with a refreshing green salad drizzled with lemon vinaigrette.
- Offer a side of roasted veggies for a wholesome touch.
- Serve with a dipping sauce like ranch or spicy salsa for extra flavor.
- Consider a light beer or iced tea for a complementing drink.
- Slap on some sliced avocado for a creamy contrast!
Enjoy the magic of Cheesy Garlic Chicken Wraps; they’re bound to become a household favorite! 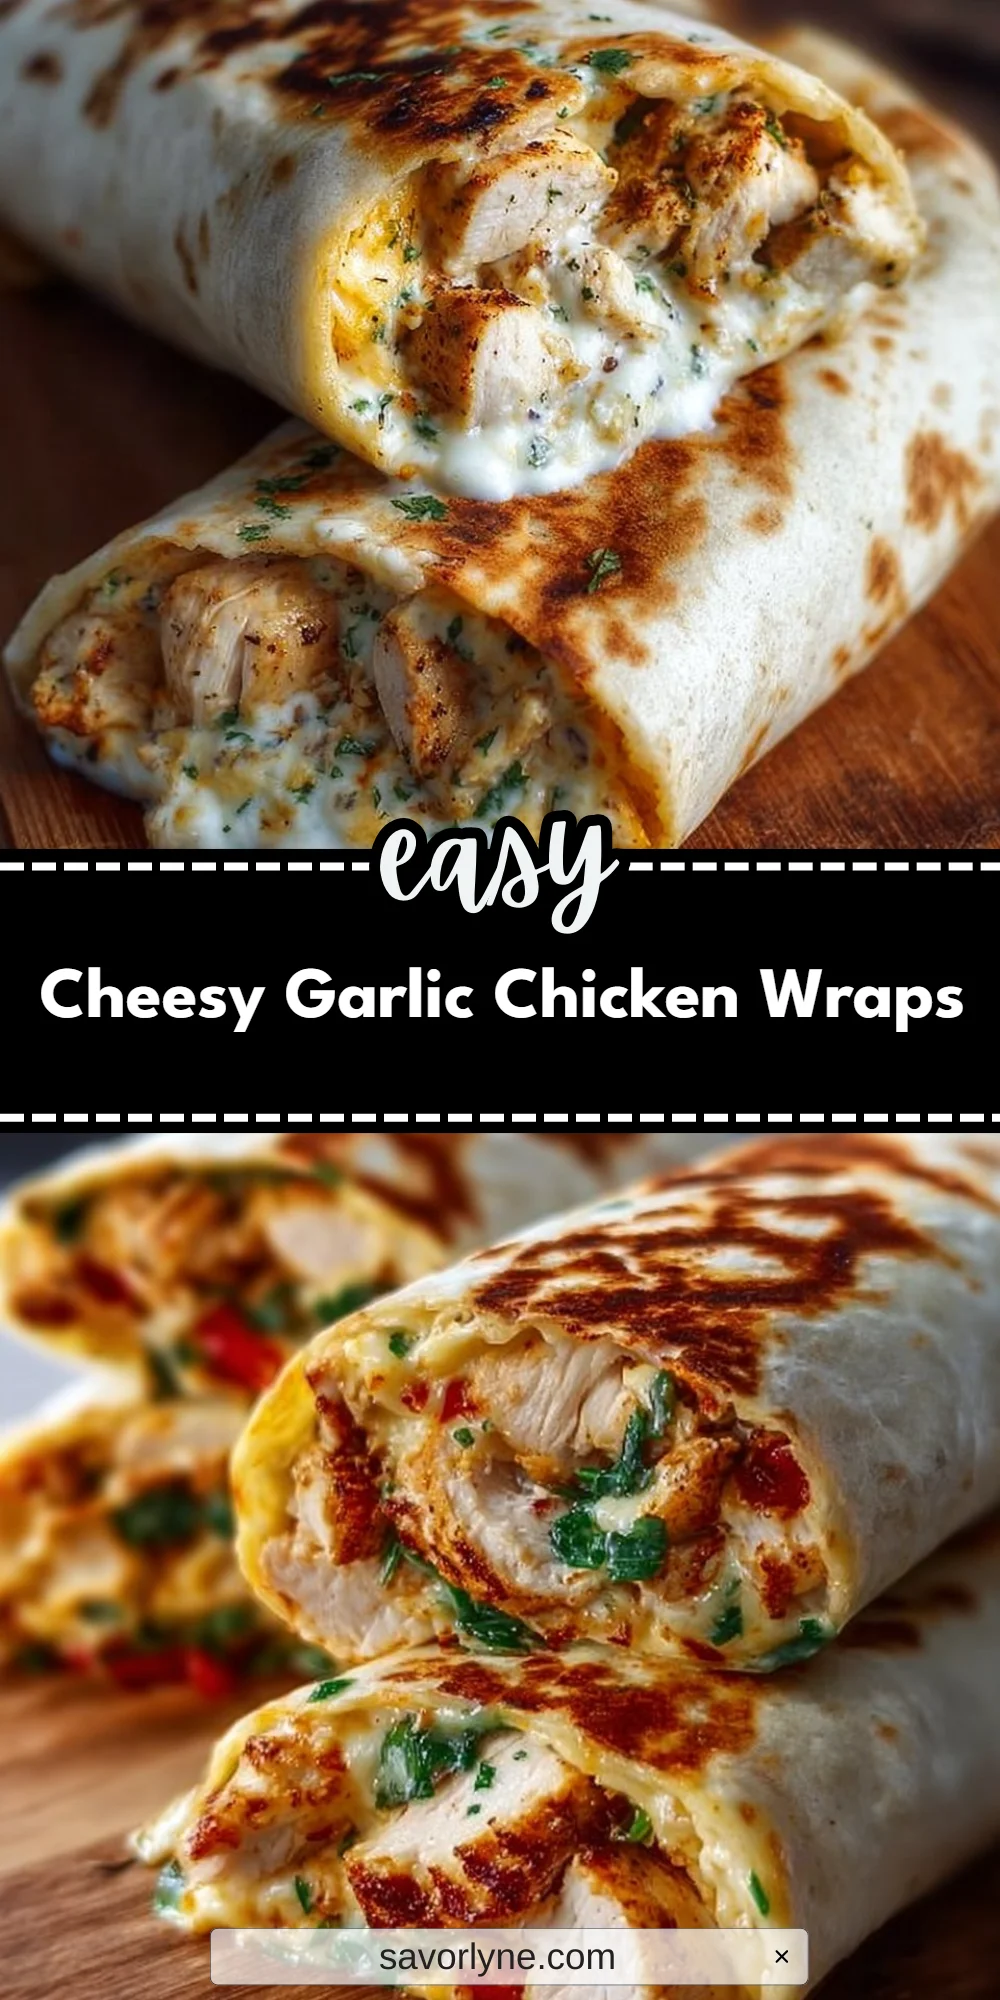
Leave a Comment